

Before booking a London Removal Company you need to sell your home & when it comes to selling your home, first impressions matter. Potential buyers are often swayed by the overall condition and appearance of a property, and minor repairs can play a pivotal role in shaping that perception. In this blog post, we’ll delve into the importance of making minor repairs before putting your house on the market and explore how addressing seemingly small issues can significantly enhance its value.
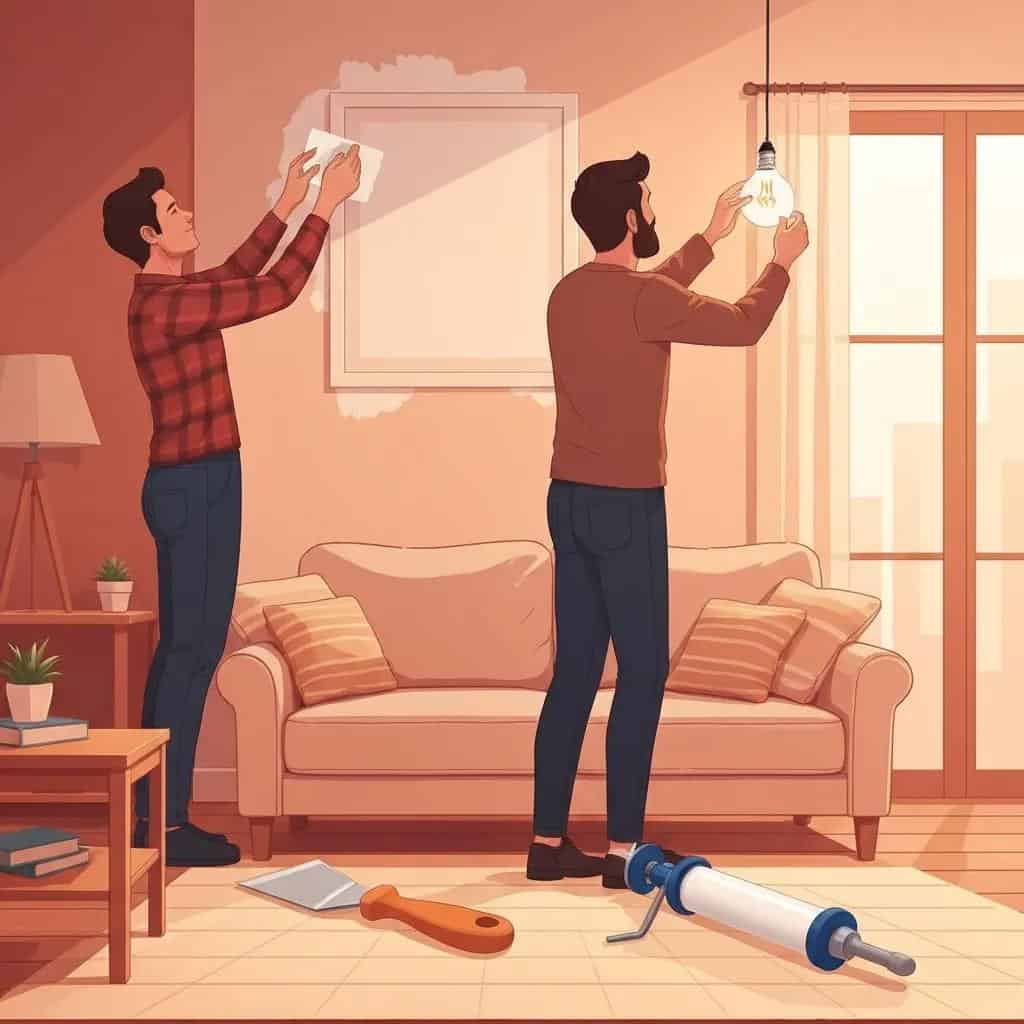
Home Repairs Before Moving Out of your London Property: Small Fixes That Smooth Your Move and Protect Value
What Are the Most Important Minor Repairs to Do Before Moving?
Before you leave, focus on visible maintenance that reduces perceived future costs and leaves the space looking cared for. Buyers and landlords notice the same things first — walls, fixtures, plumbing, and lighting — so fixing those lowers friction during inspections and showings. Below is a concise list of the highest-impact repairs to tackle in most move-out scenarios to boost appeal and protect your deposit. The following sections explain which of these tend to add the most value and which are essential for renters aiming to recover their full deposit.
High-impact, quick repairs include:
- Patch small nail holes and touch up paint so walls don’t read as neglected.
- Replace burned-out bulbs and repair switches so rooms feel bright and usable.
- Fix small faucet leaks and clear slow drains to avoid plumbing flags at inspection.
- Re-caulk shower seams and countertops to prevent water stains and mold risk.
- Tighten or lubricate door hinges and cabinet hardware to eliminate squeaks and improve perceived quality.
- Clean or repair grout and tiles in bathrooms and kitchens to present hygienic, well-maintained surfaces.
Which Easy Home Repairs Have the Highest Impact on Property Value?
Paint touch-ups and neutralizing bold colors often offer the best returns: fresh, neutral walls help buyers picture their own style and lower perceived renovation needs. Small fixture updates — swapping dated cabinet knobs or worn switch plates — are inexpensive but send a strong signal of care. Visible surface repairs, like fixing a loose tile or refinishing a scuffed stair tread, remove obvious objections that can lead to price concessions. Visible, low-cost interventions usually deliver higher perceived ROI than hidden improvements, so prioritize them early to strengthen buyer appeal and negotiation position.
What Repairs Help Renters Secure Their Full Security Deposit?
Renters should aim for reversible, well-documented fixes that match typical landlord inspection checklists. Patch nail and hook holes, deep-clean carpets and appliances, and replace burned-out bulbs or missing drawer slides to meet common move-out expectations. Fix small leaks, replace faulty latches or locks if needed, and keep receipts and before/after photos as proof of work. Gentle cosmetic fixes — like touch-up paint that matches the original — avoid accusations of unauthorized alteration while addressing landlord concerns. Documentation speeds dispute resolution; the next section shows how to capture these tasks in a timed checklist.
How to Create a Pre-Move Home Repair Checklist for a Stress-Free Move
A repair checklist turns scattered to-dos into a time-lined plan that reduces last-minute stress. Start by walking every room and noting visible damage and functional issues, then estimate time and materials for each item so you can schedule realistic work blocks. Tackle low-cost, high-impact jobs first — patching, paint touch-ups, replacing bulbs — then move to medium-effort items like grout or minor plumbing, leaving complex or permit-required work to the end. The numbered steps below provide a repeatable framework you can print, share with movers, or assign to helpers before moving into a room-by-room breakdown.
- Inventory: Walk every room and list visible issues; mark each as cosmetic, functional, or safety-related.
- Prioritize: Rank tasks by impact (deposit/sale effect) and effort (time/cost).
- Schedule: Block specific days before move-out and leave buffer time for any professional work.
- Execute & Document: Do the repairs, keep receipts, and photograph before/after states for evidence.
Use this framework to build a printable checklist matched to your timeline and responsibilities. The checklist keeps work organised and creates a record you can show a landlord or buyer. The section below gives a room-by-room inventory you can plug into that checklist.
What Room-by-Room Repairs Should Be Included in Your Checklist?
Working room by room prevents missed tasks and focuses effort where it matters. In living areas: check walls for scuffs, tighten or replace loose trim, and confirm outlets and lighting work. In bedrooms: patch holes, replace missing hardware, and clean closet tracks. In kitchens: tighten cabinet hinges, reseal countertops, confirm appliance operation, and fix under-sink drips. In bathrooms: re-caulk shower joints, repair cracked grout, check exhaust fans, and stop visible leaks. Outside: check porch lighting, clear gutters where safe, and touch up scuffed exterior paint to preserve curb appeal. These concrete actions fill your checklist and let you tailor the list for selling or renting.
How Can You Customise Your Checklist for Selling vs. Renting?
Match tasks to your goal: sellers should prioritise buyer perception and staging; renters should prioritize deposit protection and reversible fixes. Sellers might invest more in fresh paint, lighting, and polished fixtures because first impressions affect offers; renters should focus on documentation-friendly repairs, deep cleaning, and reversible touch-ups that restore the unit to its original condition. Allocate time and budget by estimated ROI or deposit impact: start with free or low-cost, high-impact items, then decide whether professional help is justified. Use a simple budget split and prioritise accordingly before finalizing your schedule.
Which Minor Repairs Can You Do Yourself and When Should You Hire a Professional?
Choose DIY versus pro work based on safety, code exposure, skill level, and time. DIY is fine for non-structural, low-risk fixes; hire a licensed pro for electrical, major plumbing, gas, or structural issues. Simple rule of thumb: DIY if a repair is cosmetic, reversible, and within your skill set; hire a pro when permits, safety risks, or warranty concerns apply. The table below summarizes common pre-move fixes with estimated DIY and pro costs, difficulty, and typical time so you can pick the right approach. After the table we cover common DIY projects and clear thresholds for hiring a contractor.
| Repair Type | Estimated Cost DIY | Estimated Cost Pro | Difficulty | Typical Time |
|---|---|---|---|---|
| Nail hole patching & paint touch-up | £5–£30 | £80–£200 | Low | 15–60 minutes |
| Faucet washer replacement | £5–£25 | £100–£250 | Medium | 30–90 minutes |
| Re-caulking shower seam | £5–£20 | £80–£200 | Low | 30–60 minutes |
| Light fixture or switch replacement | £10–£50 | £120–£300 | Low–Medium | 30–120 minutes |
| Drywall patch (small) | £10–£40 | £150–£350 | Medium | 1–3 hours |
What Are the Most Common DIY Repairs Before Moving?

When Is It Better to Hire a Contractor for Pre-Move Repairs?
Hire a licensed contractor for electrical systems, major plumbing, structural repairs, gas lines, or any work that likely requires permits — these carry safety and liability risks. If a repair will appear on sale disclosures or affect certifications, a pro provides documentation and warranty coverage. When requesting bids, ask about licensing, insurance, timeline, permits, and references; get written estimates to compare. Decide early so pro scheduling fits your move timeline and doesn’t delay handover or closing dates.
What Essential Tools and Materials Do You Need for Pre-Move Minor Repairs?
Packing a small repair kit saves trips to the store and speeds up work. The kit should include hand tools, basic consumables, and safety gear so you can patch walls, replace fixtures, and handle simple plumbing and caulking. The table below lists essential items, their primary uses, approximate costs, and whether they’re must-haves for typical move-out repairs. After the table, we offer a short shopping and storage approach to avoid overbuying while staying ready.
| Tool/Material | Primary Use | Approx. Cost | Must-have? |
|---|---|---|---|
| Multi-bit screwdriver set | Fastening hardware, light fixtures | £15–£40 | Yes |
| Putty knife & spackle | Nail hole/drywall repair | £5–£15 | Yes |
| Caulk gun & silicone/acrylic caulk | Sealing showers and trim | £8–£25 | Yes |
| Touch-up paint & small brushes | Paint repairs and color matching | £5–£30 | Yes |
| Adjustable wrench & plumber’s tape | Minor plumbing repairs | £10–£30 | Yes |
| Sandpaper assortment | Smoothing patches before painting | £3–£10 | Yes |
| Work gloves & dust mask | Safety during sanding and cleaning | £5–£15 | Yes |
Which Tools Are Must-Haves for DIY Home Repairs Before Moving?
Key hand tools: a multi-bit screwdriver set, hammer, putty knife, caulk gun, adjustable wrench, tape measure, and a basic cordless drill with screwdriver bits. These items cover most pre-move repairs: spackle and a putty knife for wall blemishes, a caulk gun for showers and counters, and an adjustable wrench plus plumber’s tape for common faucet work. A small cordless drill with clutch settings speeds hinge and fixture replacements and improves finish quality. With these tools ready, you can complete most high-impact repairs efficiently.
What Materials Should You Stock for Quick and Cost-Effective Fixes?
Keep spackle or joint compound, a small amount of matching touch-up paint, assorted screws and anchors, silicone or acrylic caulk, plumber’s tape, spare light bulbs, and a small set of cabinet hardware on hand. Buy minimal quantities — one small tub of spackle, a 2–4 oz paint sample, and a couple of caulk tubes — enough for most single-unit move-outs without excess waste. Store materials in a labeled bin so you can tackle tasks room-by-room without running back to the store. With tools and materials organized, you’ll execute the checklist faster and have documented proof of repairs.
How Do Minor Repairs Before Moving Affect Your Home’s Sale Price or Deposit Return?
Minor repairs affect both objective value and first impressions: visible fixes reduce perceived risk and future maintenance cost, which can translate into stronger offers or fewer deductions from a security deposit. Low-cost improvements — paint touch-ups, lighting fixes, stopping drips — typically deliver a high perceived ROI because they immediately improve buyer experience and reduce landlord inspection flags. The table below highlights low-cost repairs with common cost ranges and likely ROI or deposit impact so you can prioritize tasks that maximize financial and perceptual benefit. After the table we show real-world examples of how small repairs influence negotiations and inspections.
| Repair | Typical Cost | Typical ROI or Deposit Impact |
|---|---|---|
| Paint touch-ups | £10–£150 | High ROI for sale; reduces visual deductions |
| Light bulb/fixture updates | £5–£120 | Medium–High; improves perceived brightness and value |
| Minor plumbing stops (washer/tape) | £5–£60 | High for deposit protection; prevents leak claims |
| Re-caulking showers | £5–£30 | High for deposit return; mitigates mold concerns |
| Grout cleaning/repair | £10–£80 | Medium; improves hygiene perception during showings |
What Low-Cost Repairs Yield the Highest Return on Investment?
Paint touch-ups, better lighting, and visible hardware updates usually give the strongest perceived returns because they immediately change room presentation and buyer emotion. Buyers quickly judge by light, cleanliness, and surface condition; correcting those signals lowers perceived future costs and increases willingness to pay. For renters, small plumbing fixes and re-caulking prevent common landlord claims about water damage or hygiene, protecting deposit returns. Prioritize visible, low-cost items — they move perception more than many pricier upgrades.
How Do Repairs Influence Buyer and Landlord Impressions?
Repairs reduce uncertainty: a well-maintained property signals consistent upkeep and a lower risk of hidden defects, which makes buyers more comfortable and reduces landlord deductions. Clean, fixed spaces lower an observer’s estimate of future maintenance and build trust, speeding transactions and reducing negotiation friction. Small visible fixes — patched walls, working fixtures, and leak-free plumbing — act as credibility cues that the property was cared for, often producing quicker offers or fewer itemized deductions.
What Are the Most Common Questions About Minor Repairs Before Moving?
People often ask which repairs to prioritize, what not to fix, and the single most important action to take. Below are short, practical answers that turn advice into action. As you read, consider whether your timeline and end goal (selling or renting) should shift which recommendations you follow.
What Should You Not Fix Before Selling a House?
Don’t try to hide major defects — structural issues, mold, or serious electrical/plumbing problems — because concealing them can create legal and trust problems later. Instead, disclose significant issues and either obtain professional estimates or repair them properly so you can show transparent documentation. Also avoid over-improving beyond neighborhood standards, since excessive spending rarely returns proportional value and can delay the sale. Focus on cosmetic and functional fixes that improve perception without creating disclosure complications, then tackle your highest-impact checklist item.
What Is the Most Important Thing to Do Before Moving?
The single most important step is to create and follow a prioritized, room-by-room repair checklist that schedules high-impact, low-effort tasks first and reserves time for any necessary professional work. A structured checklist turns vague intentions into measurable progress, reduces last-minute stress, and creates documentation — receipts and before/after photos — that protect you during deposit disputes or negotiations. Start with low-cost, highly visible items (paint touch-ups, lighting, leak fixes) and add buffer days for unexpected issues.

Mastering Documentation: A Seller’s Handbook for Establishing Trust and Simplifying the Home Sale Process in the UK
Selling your home on the UK property market involves cultivating trust and efficiency; one effective strategy to do this is through careful documentation. In this blog post, we’ll delve into its significance on this particular market by looking at specific documents that resonate with UK buyers as well as why this proactive approach helps build trust and transparency between buyer and seller.

A Guide to Updating Your Kitchen and Bathroom before Moving Home in London
Hey there, homeowner extraordinaire! Are you ready to sprinkle a little magic dust on the heart and soul of your home? That’s right—we’re talking about your kitchen and bathroom! These two powerhouses have a knack for stealing the show and stealing hearts, so why not give them the love and attention they deserve?

Maximising Your Home’s Value – The Essential List
Selling a house involves several steps, and preparing your property can positively impact its value. Here are some things you should consider doing before selling and moving home to maximise its value:

The Art of Home Staging: Elevating Your Property’s Allure and Market Appeal
Selling a home is not just about presenting a physical space; it’s about crafting an experience that resonates with potential buyers. Home staging is the art of transforming your property into a visually appealing and inviting space, allowing buyers to envision themselves living in it. In this blog post, we’ll explore the significance of home staging, its impact on the selling process, and practical tips to make your property stand out in a competitive real estate market.

The Art of Transformation: The Impact of Fresh Paint in Home Selling
In the world of real estate, first impressions are paramount, and few things can transform a space as effectively as a fresh coat of paint. The walls of a home serve as the canvas on which potential buyers visualise their future. In this blog post, we’ll delve into the profound impact of a fresh coat of paint when selling your home, exploring why it matters and how choosing the right colours can elevate your property’s appeal.

The Power of Cleanliness: Elevating Your Home’s Appeal Before You Move
When it comes to selling your home, first impressions are everything. The initial moments a potential buyer steps into your property can shape their perception of the entire space. That’s where the magic of cleanliness and decluttering comes into play. In this blog post, we’ll explore the significance of keeping your home spotless and clutter-free, and how this simple yet transformative step can elevate your property’s appeal and value.
Recent Comments